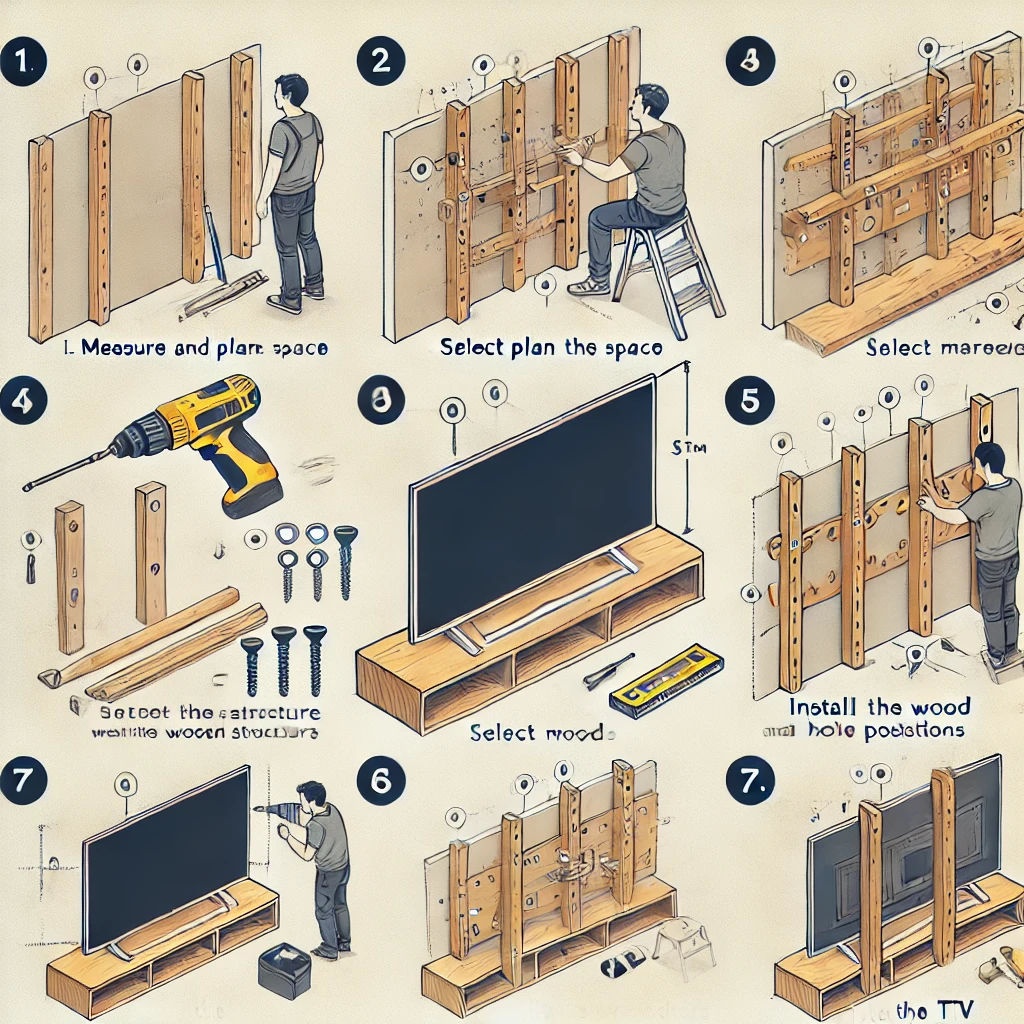
When we think about mounting a TV on the wall, one of the main obstacles is the cost of commercial mounts and the difficulty of installing them correctly. However, the good news is that you don’t need to spend a fortune to achieve a safe and functional mount. Creating your own homemade TV mount is an economical, customized, and most importantly, a satisfying solution! If you’re wondering how to do it, here’s a detailed guide with all the steps you need to successfully complete the project using accessible materials and simple tools.
Why Opt for a Homemade TV Mount?
Mounting a TV on the wall not only saves space, but it can also add a modern and elegant touch to any room. Additionally, commercial mounts sometimes don’t meet your specific needs, whether it’s due to size, design, or cost. By doing it yourself, you can customize the mount to your preferences, and you’ll have control over the materials, the cost, and the installation process.
Materials Needed to Create a Homemade TV Mount
Before you start, make sure you have all the necessary materials ready. Here are the essential items needed to build a secure and functional homemade TV mount:
- Quality wood (boards or planks): Make sure the wood is sturdy and of good quality. The size will depend on the size and weight of your TV.
- Screws and wall anchors: These are essential to secure the mount to the wall. Make sure you choose the right ones for the type of wall (drywall, brick, concrete).
- Metal brackets (if needed): If your TV is large, you can reinforce the structure with metal brackets.
- Basic tools: Drill, screwdriver, saw, bubble level, and measuring tape.
Benefits of Creating a Homemade TV Mount
Choosing a homemade mount has several advantages. Here are some key benefits:
- Cost savings: Commercial mounts can be quite expensive. By doing it yourself, you’ll only pay for the materials, which results in significant savings.
- Total customization: You can choose the design, size, and finish that best fits your style and space.
- Satisfaction and learning: There’s nothing like the satisfaction of making something with your own hands. Plus, you’ll learn new skills in the process.
- Adaptability: You can adjust the mount to fit any type of TV, whether it’s large, small, or a specific model.
- More control over installation: By doing it yourself, you can choose the exact location, ensuring a more precise and comfortable installation.
Steps to Create Your Own Homemade TV Mount
Now that you understand the benefits, let’s go over the detailed steps to create your own mount.
Step 1: Measure and Plan
Before you start, it’s crucial to measure the space where you want to place the TV. Use a measuring tape to determine the desired height and available wall space. Additionally, measure your TV’s dimensions to ensure the mount will be large enough.
Additional tip: If you plan to include cables and other accessories, leave enough space for them.
Step 2: Select the Materials
Choose sturdy materials. Wood is an excellent choice for its durability and ease of work. If you’re not experienced in carpentry, pine or MDF boards are accessible and easy to handle. Make sure the wood is thick enough to support the weight of your TV.
Step 3: Cut the Wood
Using a saw, cut the wood according to the measurements you took earlier. You’ll need at least two main pieces: one base that will be fixed to the wall and one structure to hold the TV. If you prefer, you can add extra side reinforcements for more stability.
Recommendation: Make sure the cuts are straight and clean to prevent the structure from being unstable.
Step 4: Assemble the Structure
Once the pieces are cut, it’s time to assemble them. Use wood screws to join the parts of the structure, making sure they are tightly secured. If necessary, reinforce with metal brackets for added security, especially if your TV is large.
Step 5: Prepare the Wall
Before fixing the mount to the wall, ensure that it’s level. Use a bubble level to make sure the TV will be straight. Mark the hole positions on the wall with a pencil, verifying that they are aligned with the wood structure.
If the wall is drywall or plasterboard, use special anchors to ensure the mount is firmly secured.
Step 6: Install the Mount
With the help of a drill, drill the holes into the wall following the marks you made earlier. Then, insert the screws and anchors and mount the wood structure in place.
Safety tip: Always check that the screws are tight and that the mount is secure before placing the TV.
Step 7: Place the TV
Once the mount is installed and secure, it’s time to place the TV. Make sure the TV is well balanced on the structure and verify that there’s no movement. If possible, ask for help to lift the TV and secure it properly.
Additional Tips for a Perfect Homemade TV Mount
- Secure the cables: To keep the space tidy, you can create channels or use clips to hold the TV cables and other connected devices.
- Paint or decorate: If desired, paint the wood to match the décor of your room. Be sure to use durable paint or varnish.
- Additional reinforcements: If the TV is very heavy, consider adding extra reinforcements or using more robust materials for the structure.
Time to Get Started!
Now that you know all the steps to create your own homemade TV mount, don’t waste any more time. Start gathering the materials and follow each step carefully. Not only will you save money, but you’ll also enjoy the pride of having built a mount that perfectly fits your needs. Do it today and transform your home with a professionally mounted and customized TV!


