A Noisy Chair That Won’t Stay Still? Here’s What You Can Do
We’ve all experienced it—sitting down on a chair that creaks and shifts like it’s on its last legs. Whether it’s a favorite dining chair or an old wooden seat passed down through generations, a wobbly chair can be both annoying and potentially dangerous. But what if you could fix it without taking the entire thing apart?
This guide is for anyone dealing with a squeaky, unstable chair that seems beyond repair. With a few affordable tools, a bit of wood, and some practical techniques, you can give your chair a second life—stronger and quieter than ever. No fancy machines, no professional workshop required.
Why Do Chairs Become Unstable Over Time?
Wooden chairs are built with joints that are glued or nailed together. Over time, due to repeated use, humidity, and age, these joints weaken. In many cases, chairs start to squeak or wobble when:
- The internal wooden reinforcements (known as braces or blocks) are missing or broken.
- The glue has dried out or lost adhesion.
- Screws or nails have loosened.
- The fabric or padding has torn, compromising the chair’s integrity.
Sometimes, chairs are so tightly nailed or stapled together that disassembling them would cause more damage. In such cases, reinforcing the base and corners can restore stability without tearing everything apart.
Top Benefits of Reinforcing a Chair Instead of Replacing It
- ✅ Save Money: Repairing a chair can cost less than $10 with the right materials.
- 🪑 Extend Lifespan: Reinforcement adds years to the usability of your furniture.
- 🔧 Improve Stability: Prevent future wobbling by strengthening weak points.
- 🔇 Reduce Noise: Proper wooden bracing eliminates squeaks and creaks.
- 🌱 Eco-Friendly Choice: Avoid waste and reduce your carbon footprint by fixing, not throwing away.
How to Reinforce a Noisy or Loose Chair in 6 Simple Steps
Here’s a DIY method for reinforcing a wooden chair using wooden blocks (also called “paquetes”) without taking it apart completely.
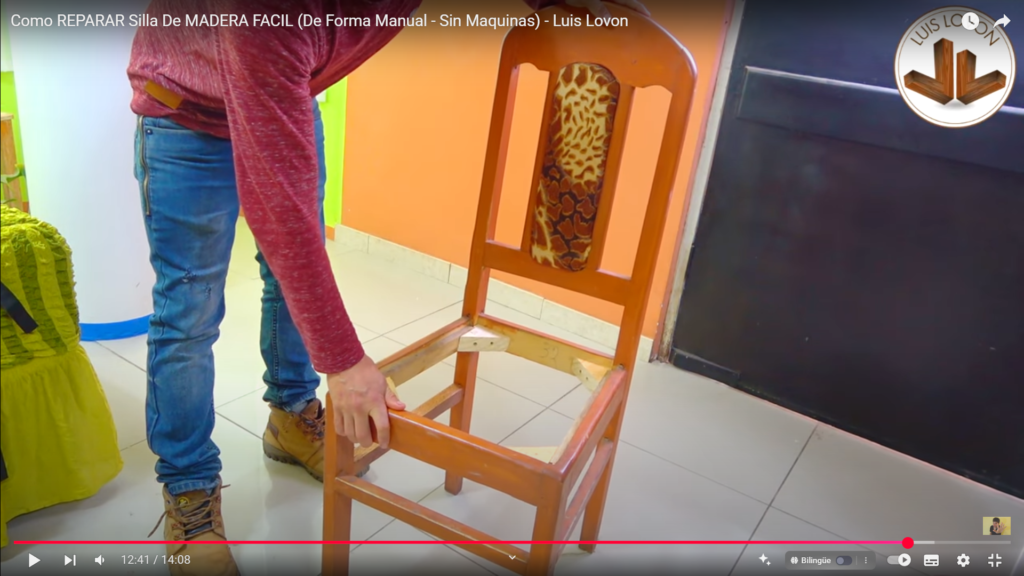
1. Inspect the Chair Thoroughly
Sit on it, wiggle it, and identify which parts are unstable. Focus especially on:
- Lower joints
- Corners under the seat
- Loose screws or nails
- Cracked wood or broken fabric
In the case shown in the video, two chairs had different issues—one with loose joints and the other with torn fabric and missing structural support.
2. Cut and Prepare Wooden Reinforcement Blocks
Use leftover pinewood or similar hardwood pieces to create triangular or rectangular wooden blocks.
- Measure the interior angles of the chair corners.
- Mark and cut wooden pieces accordingly.
- Test-fit them before installation to ensure a tight and flush fit.
💡 Tip: Use basic tools like a handsaw, chisel, and measuring tape. No need for expensive machines.
3. Create Joinery Canals (Optional but Recommended)
To avoid splitting the wood when inserting screws:
- Drill small guide holes, or “canals”, through the reinforcement blocks.
- This allows screws to enter cleanly without damaging the wood.
Add wood glue to strengthen the bond between the block and chair frame.
4. Attach Reinforcement Blocks Firmly
Position the blocks at each corner under the seat, ensuring they touch two or more frame sections. Secure them using:
- Wood glue (applied generously on both sides of the block).
- Screws through the pre-drilled canals.
Let the glue dry for at least 2 hours before testing the stability.
5. Replace or Repair Broken Parts
In cases where wooden dowels or tenons (espigas) have broken:
- Create a new tenon using a piece of hardwood.
- Cut it to the required length and shape to fit into the mortise hole.
- Test-fit and glue it into place, then sand down any rough edges.
Also, remove any embedded nails that interfere with new joints.
6. Finishing Touches: Color Matching and Protection
- Use ocre pigment to color-match the new wood with the original furniture.
- Mix it with a bit of water or add a touch of yellow for the perfect tone.
- After drying (15 mins), apply a protective sealant or lacquer.
Finally, sand lightly with 220-grit sandpaper and apply a second coat for extra durability and a professional finish.
Additional Tips for a Longer-Lasting Chair Fix
- Always reinforce all four corners of the chair for even distribution of pressure.
- If a seat cushion or fabric is torn, replace or reupholster it in a separate step.
- Store chairs in a dry environment to prevent wood warping or glue failure.
- Visit local carpentry shops to get hardwood pieces cut to your desired dimensions at a low cost.
Transform Your Chair—and Your Space—With Simple Tools and Patience
Repairing a noisy or unstable chair might seem overwhelming, but as this step-by-step guide shows, it’s absolutely doable—even without disassembling the entire structure. By reinforcing the joints, adding structural blocks, and applying a bit of glue and creativity, your chair can be sturdier than when it was new.
So the next time your favorite chair starts to creak or wobble, don’t toss it—grab your tools and give it new life. Start small, stay consistent, and remember: a little bit of effort goes a long way.
🪑 Start today—your back (and your wallet) will thank you.